Scratch Building Models
Scratch-building Architectural Models
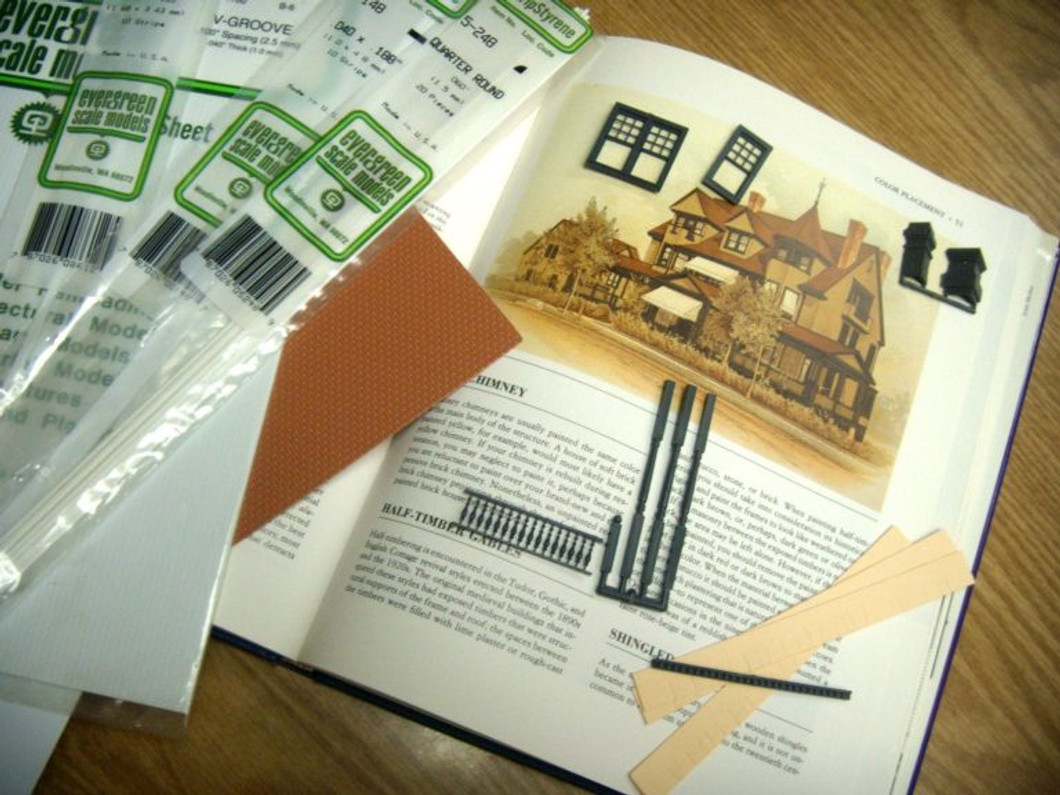
Our most popular products are the many architectural detailing parts which we produce for scratch-builders. With the variety of windows, doors, railings and trims, you can construct nearly any building you wish. Our components can be used in structures made of wood, mat-board, paper or styrene to add the finishing touches to your models.
Styrene is great fun to work with because it is so adaptable. You can cut the pieces apart and re-configure them easily, using simple tools and some liquid plastic cement. If a piece of roof trim is too long or the wrong shape, just trim it off with your X-Acto knife. If you have single windows which you wish were doubles, simply cut off the frame on one side of each window, file the edges, fit together and cement from the back side. If you want to construct a complicated roof line, do your planning on paper, trace the shapes onto some styrene sheets, cut and cement together. The cement works very quickly and you can proceed at a good pace. The possibilities are only as limited as your imagination.
Materials:
Styrene sheets and strips are available at most hobby shops and are great for building simple, as well as complicated pieces of architecture. The most readily available sheets and strips are produced by Evergreen Scale Models. If you have trouble finding this product, write to them for a catalog and try ordering direct*. The sheets are 12″ x 24″, and either .020″ or .040″ thick. Sheets which we find useful are the clapboard (available with a board spacing of .030″ to .1 “) and the v-grooved with a board spacing of .020” to .250″). The strips come in a variety of sizes—from scale 1 x 1’s to 6 x 12’s. You will need a good assortment of these for most projects.
*Evergreen Scale Models, Inc 12808 N.E. 125th Way, Kirkland, WA 98034 / (206) 823-0428/ Fax (206) 820-9091. http://www.evergreenscalemodels.com/
Planning:
Design your structure on paper and then figure out the best layout on the plastic sheet. If you can share cutting lines from piece to piece you can get by with fewer cuts. Draw your pieces directly on the back side of your styrene sheet. Remember to reverse your pattern and to check the direction of the “clapboard” or “v groove” on the front, so that everything is cut in the proper direction. A little planning goes a long way.
Tools:
The successful modeler finds that using good tools makes a big difference when doing detail work. Tools which we recommend are:
- Jeweler’s files—available at your hardware store or some hobby shops.
- An 8 or 10″ mill smooth file—get a new one at your hardware store and use it only for this purpose.
- X-Acto hobby knife and blades.
- A pair of small needle-nose pliers.
- Tweezers ( one large and one small, if possible)
- A brush for applying cement—use a #5-0 or smaller for best results.
- Testor’s® Liquid Plastic Cement or Plastruct Bondene® Styrene Solvent—available at hobby shops.
- Metal edge ruler—for measuring, scoring plastic with your hobby knife or single edge razor
- Right-angle triangle, 30-60 triangle—useful for laying out “patterns” on your styrene sheet
- Small hand-held hobby saw—available in your hobby shop
- Flush cut diagonal cutters—available at your hardware store.
- A good flat surface for alignment of parts.
Cutting:
Cutting sheet styrene: Use your X-acto knife and metal straight-edge to score sheet styrene on the back side of the sheet. Do not try to cut all the way through the plastic, but just score it about 1/3 of the way through. Then, gently bend the sheet back and forth along the score mark until the plastic breaks along your line. With practice, you can cut holes in the middle of your wall for windows using this technique. The key is to gently flex the styrene sheet along the scoring marks over and over, until the plastic breaks through.
Cutting strip styrene: Simply score the plastic, use diagonal cutters, or (if thin enough) scissors.
Cutting thick parts, such as window moldings: This is where the hobby saw comes in handy. Just saw through the part at the appropriate angle, then file smooth.
Window glazing:
.010″ acetate may be used as window material. Cement this to the inside of your window frames with an ACC product (such as Crazy Glue ) or contact cement. If you use clear sheet styrene, you can use liquid plastic cement. We suggest painting your window frames before cementing the glass in place. Your results will also be best if you wait to install the frames until the rest of your model is painted.
Recent Posts
-
-
Scratch Building Models
Scratch-building Architectural ModelsOur most popular products are the many architectural detailing …Aug 19th 2019 -
Painting Tips
For finely detailed models, spray painting is the best way to go. Floquil® Polly Scale, when used w …Aug 19th 2019


